Lots to Learn

So I am relatively new to this job of mine, been at it for 2 1/2 yrs now. Toughest job I’ve ever held. Being a stay at home mom is no joke and I am under qualified when it comes to everything, from taking care of kids to doing housework/cooking. Thank goodness doing research is literally a click away.

Up until last week, I had no idea what these curly attachments that came with the mixer were for and I’ve had my mixer for 10+ yrs! At one point I even considered tossing them out. 20140730-211636-76596433.jpg Good thing I didn’t. It turns out, it’s for making dough! I only found out because I thought I’ll try making my own pizza dough. Thank you Internet! Found my recipe and viola, a pizza! Too bad I forgot to take some pictures. I did however remember to take some today.
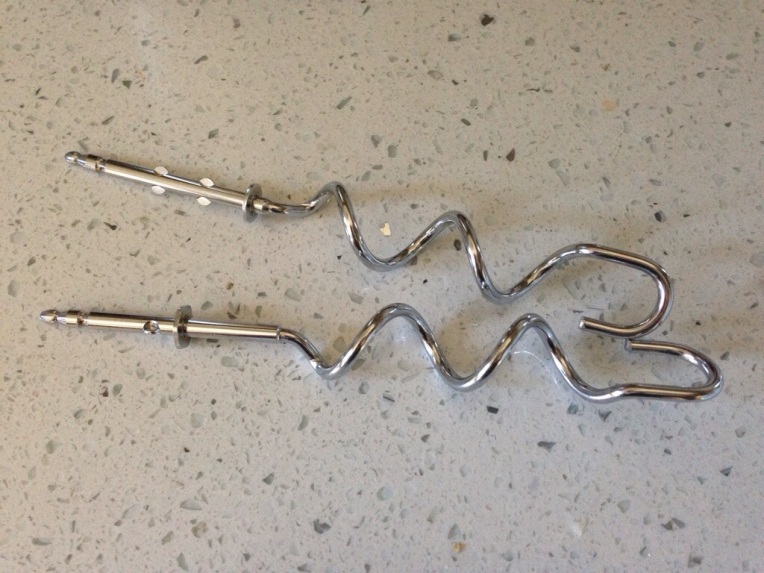
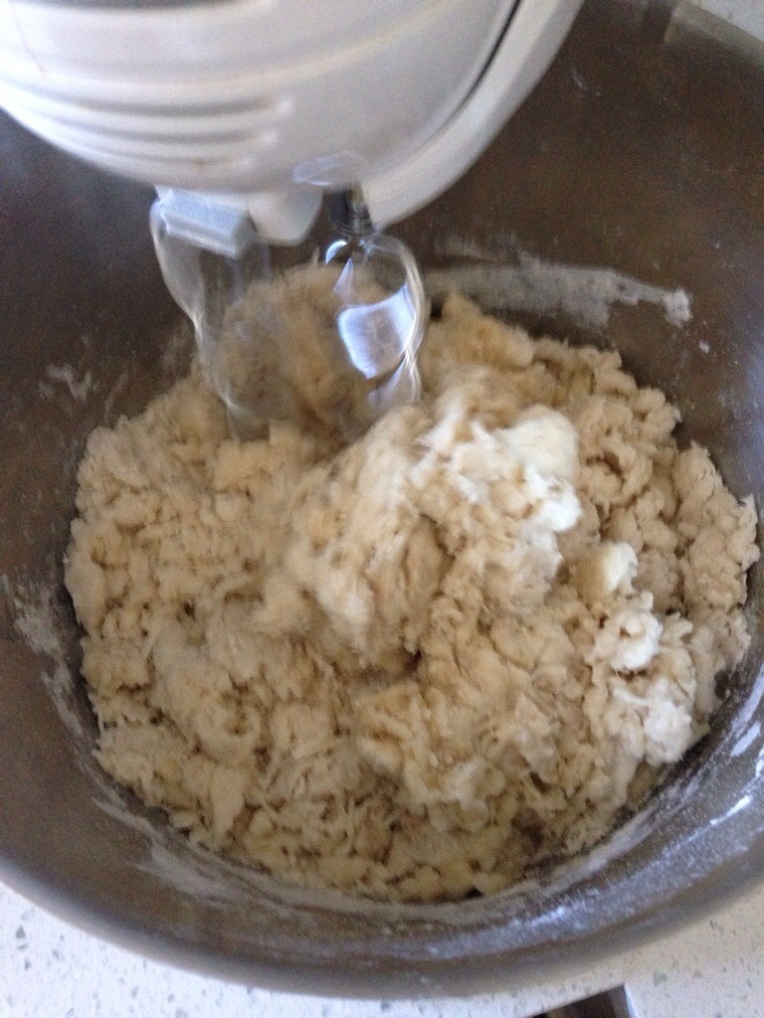
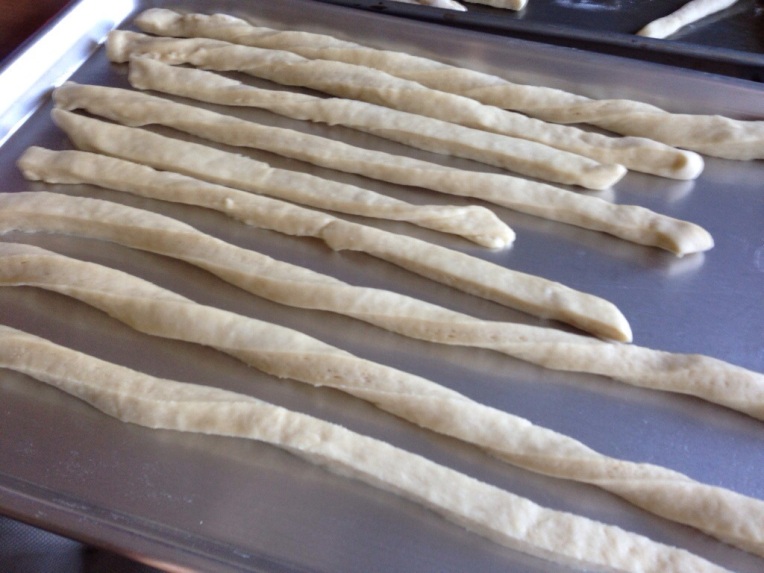
20140730-211931-76771865.jpg. Cool right? I made some garlic bread sticks. The boy loved it! I’m his hero now! Yay me!

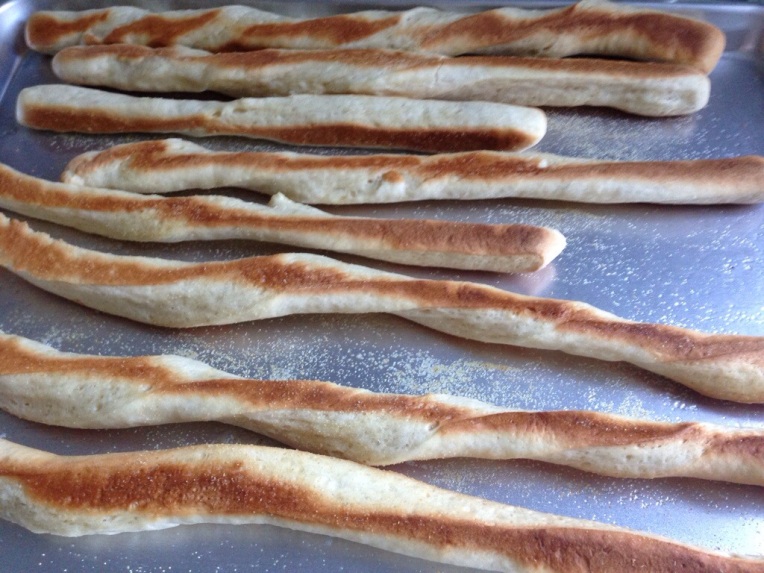
20140730-212026-76826247.jpg. And here it is, straight from the oven.

20140730-212057-76857406.jpg

A sewing machine and a new Bapron!

1U2A6683

A little back story.  I inherited a sewing machine! I vaguely remember taking a sewing class 24 years ago, where I made an apron and a pot holder. Maybe being a daughter of a seamstress helps because for some reason, I can sew! Who knew?!

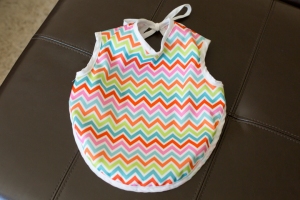
I decided that my first project would be a bib!  No, not a bib, a Bapron by http://www.craftinessisnotoptional.com/.  I’d love to take credit for the designing this awesome bib but I’m not that creative.  I did a Pinterest search and got my inspiration.  You can buy the pattern and tutorial for $6 but I am much too cheap to buy so I traced a onesie and eyeballed it.  Let me tell you, it is worth the $6 because after the time spent on drawing the pattern and doing a mock piece, I totally wished that I had just bought the tutorial/pattern.  After all, the extra time spent could be used for sleeping!  So if you are interested in making this, here’s the link to the Bapron tutorial.

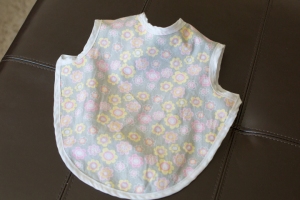
I made it reversible.  The Chevron side is with PUL fabric for eating and the flower side is cotton for collecting drool.  Here’s the other side.

1U2A6684

And here’s my little model!

bapron_model

I love it!  And, I think she loves it too!

Stick with it!

20140712-233533-84933654.jpg
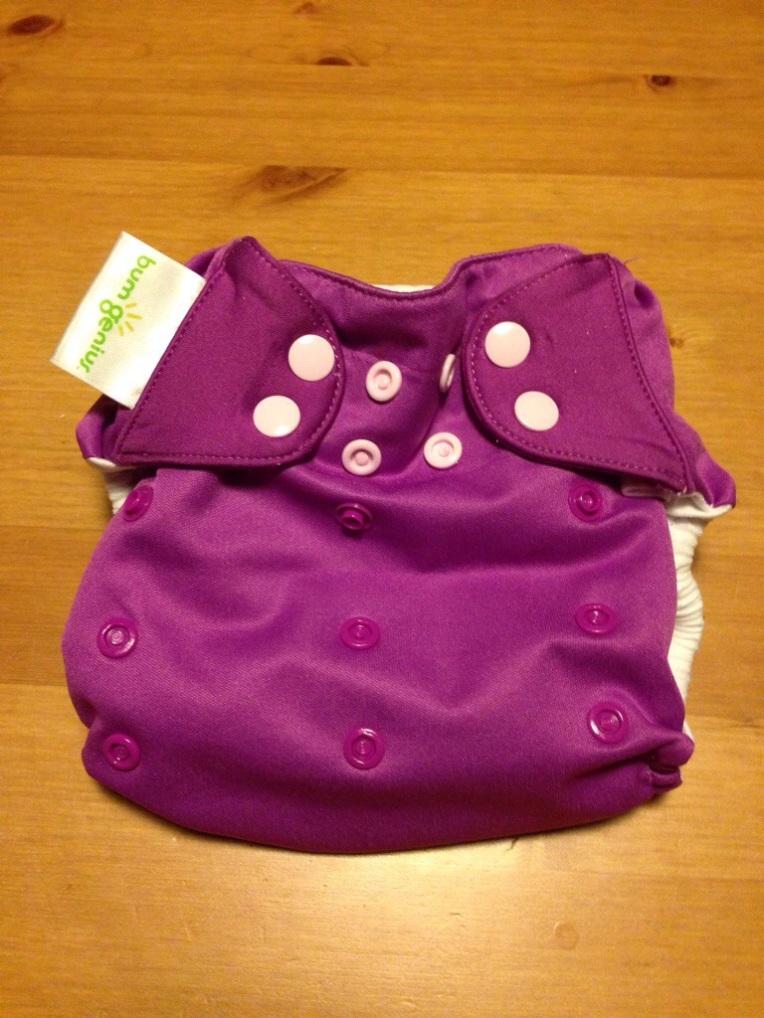
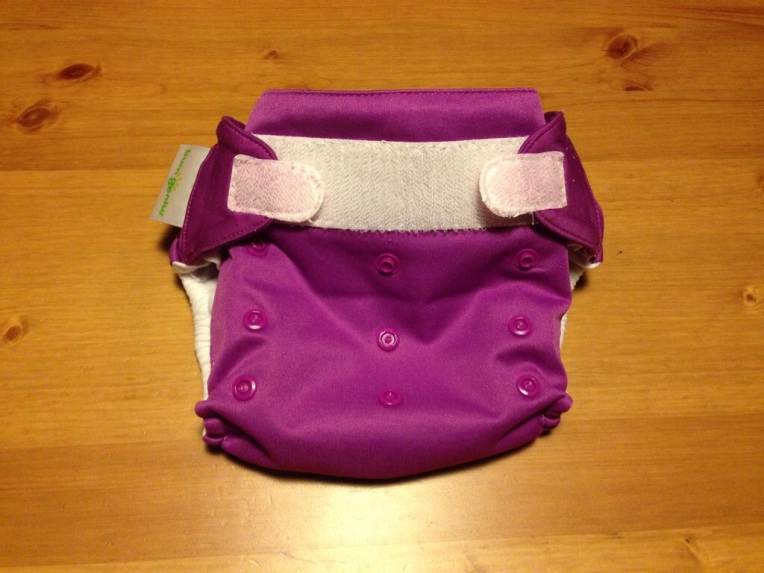
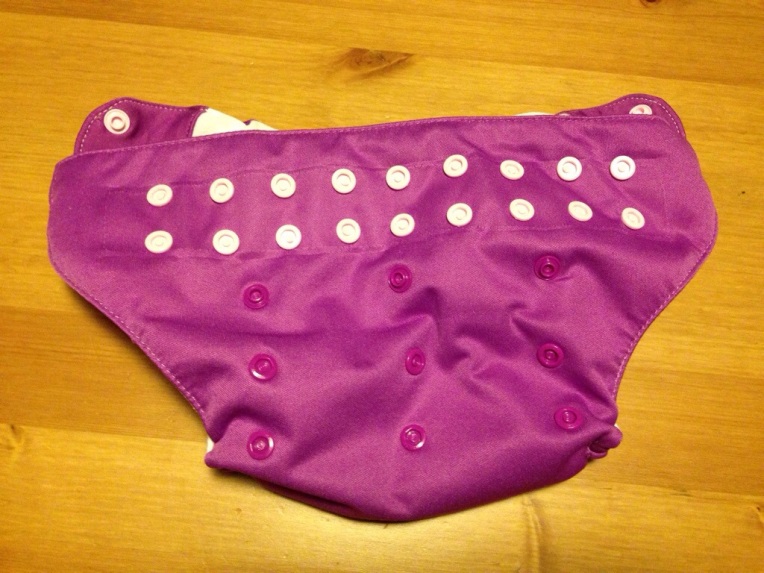
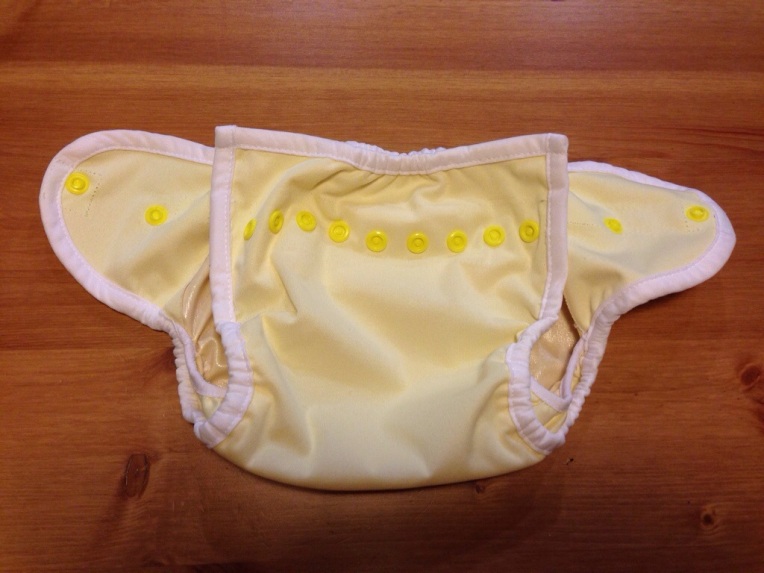
They say you don’t know until you try it. That’s how I ended up with 2 diapers with velcro that I had to convert. I mean I knew I would like snaps more than aplix before I ordered any cloth diapers yet I had to try it. Seriously what is wrong with me? I guess I just had to try it out, just to be sure. That is how I end up with many different brands and different types. Now that I know which I like best, I am too lazy to sell them so I can buy more of the ones that I like more. Well, at least I no longer have to deal with velcro. Here are some pictures. Oh, one tip, do the row farthest from the edge first.

20140712-233532-84932777.jpg

20140712-234250-85370204.jpg

Here are the link to the instructions and template.

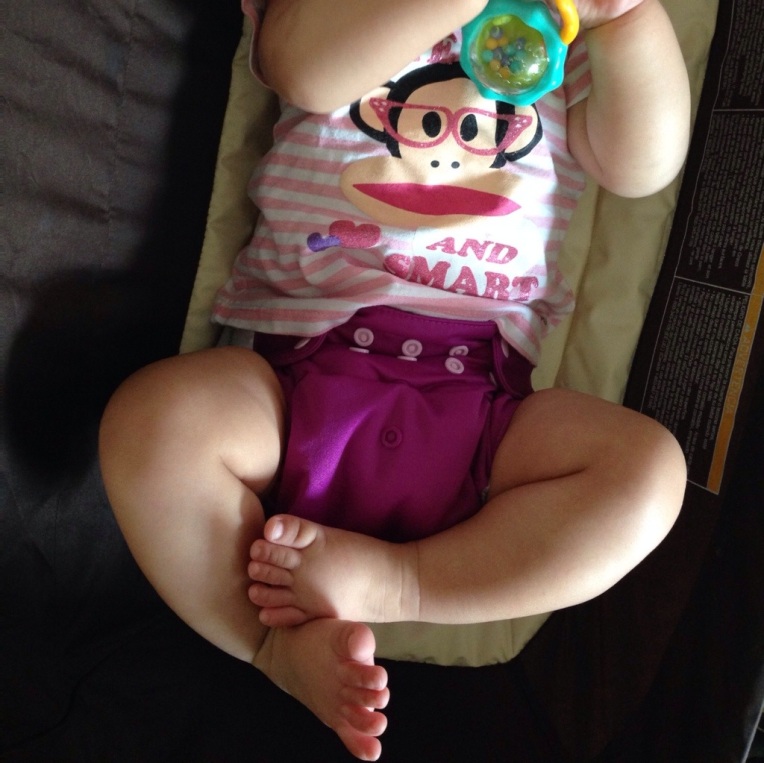
There is something about putting your baby in something you altered/made that is very satisfying. Here’s my baby in the newly altered BumGenius diaper!

20140713-163654-59814365.jpg

From Aplix to Snaps!

20140712-010539-3939562.jpg

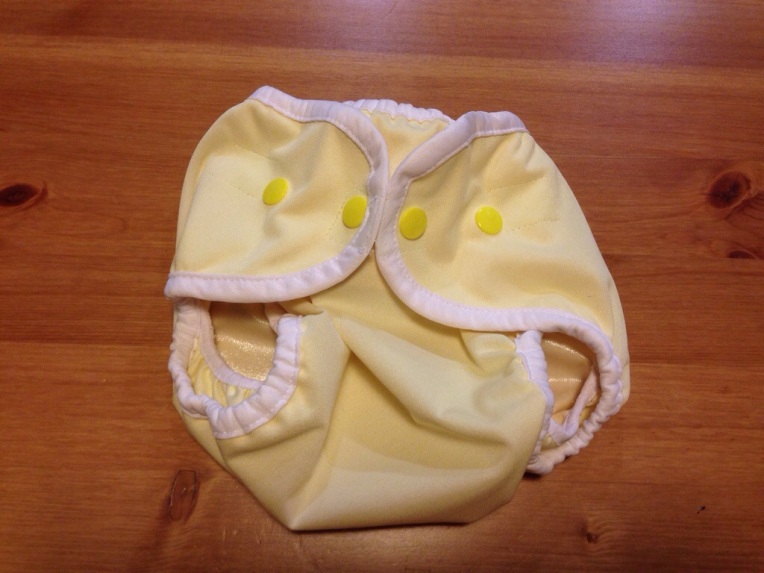
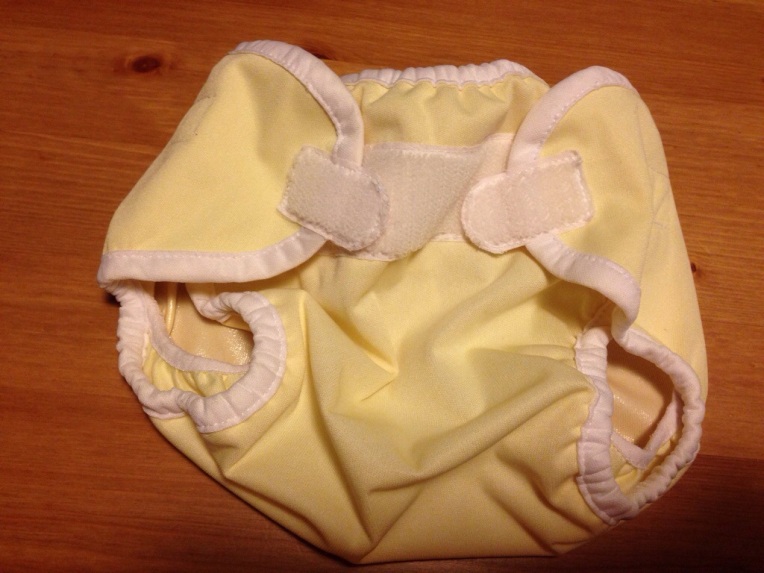
Wow it has been a long time since I posted. I must have been busy. I have since been converted to the world of cloth diaper and addicted too. I have a couple of them with velcro and have been wanting to change them to snaps. I finally gave it a try, pretty easy. Here are some before and after photos.
Before:

20140712-005111-3071327.jpg
After:

20140712-010711-4031915.jpg

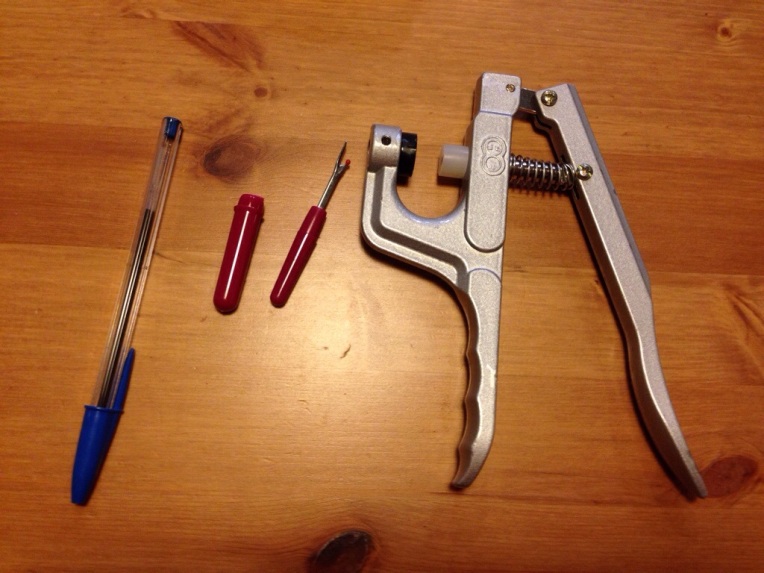
All you need are the following: a pen, an awl (I used a seam ripper), and a kam plier.

20140712-005500-3300511.jpg

You can find the instructions here, http://www.kamsnaps.com/Adding-Snaps-to-Thirsties-Duo-Diapers-45.html.