Because every little boy needs a little boy purse to store their hot wheels or matchbox cars!
I got my tutorial from Crazy Little Projects. I added snaps and a handle. It was easy for a beginner sewer like me!


Because every little boy needs a little boy purse to store their hot wheels or matchbox cars!
I got my tutorial from Crazy Little Projects. I added snaps and a handle. It was easy for a beginner sewer like me!
Ever tried putting a prefold on a wiggly anti-prefold baby?!! If you have, you would feel the same way as I do. It was fine and dandy until one day the baby decided that whenever mommy put a nicely folded prefold around her cute little tush, she would turn over or do just about anything to undo the folds…grrr…..so no prefolds!!!!
I can’t get myself to abandon these prefolds and buy other types of cloth diapers. And no one is gonna by used prefolds so no point trying to Craiglist them. So converting them it is! I found myself a tutorial from la di la diaper and tried converting a prefold to a fitted. Here it is! Nothing fancy, looks terrible even but it works.

Everything looks cute on a baby, even a poorly sewed fitted diaper. And a baby doesn’t complain if it doesn’t look good!

Ok, I now have a new appreciation for onesies! It took me at least 4 hours to sew one and it looks like crap! I’ve been following all these sewing blogs, studying their tutorials and getting inspired! And then I thought, I’ll try tracing an existing onesie and find an old shirt and refashion it!
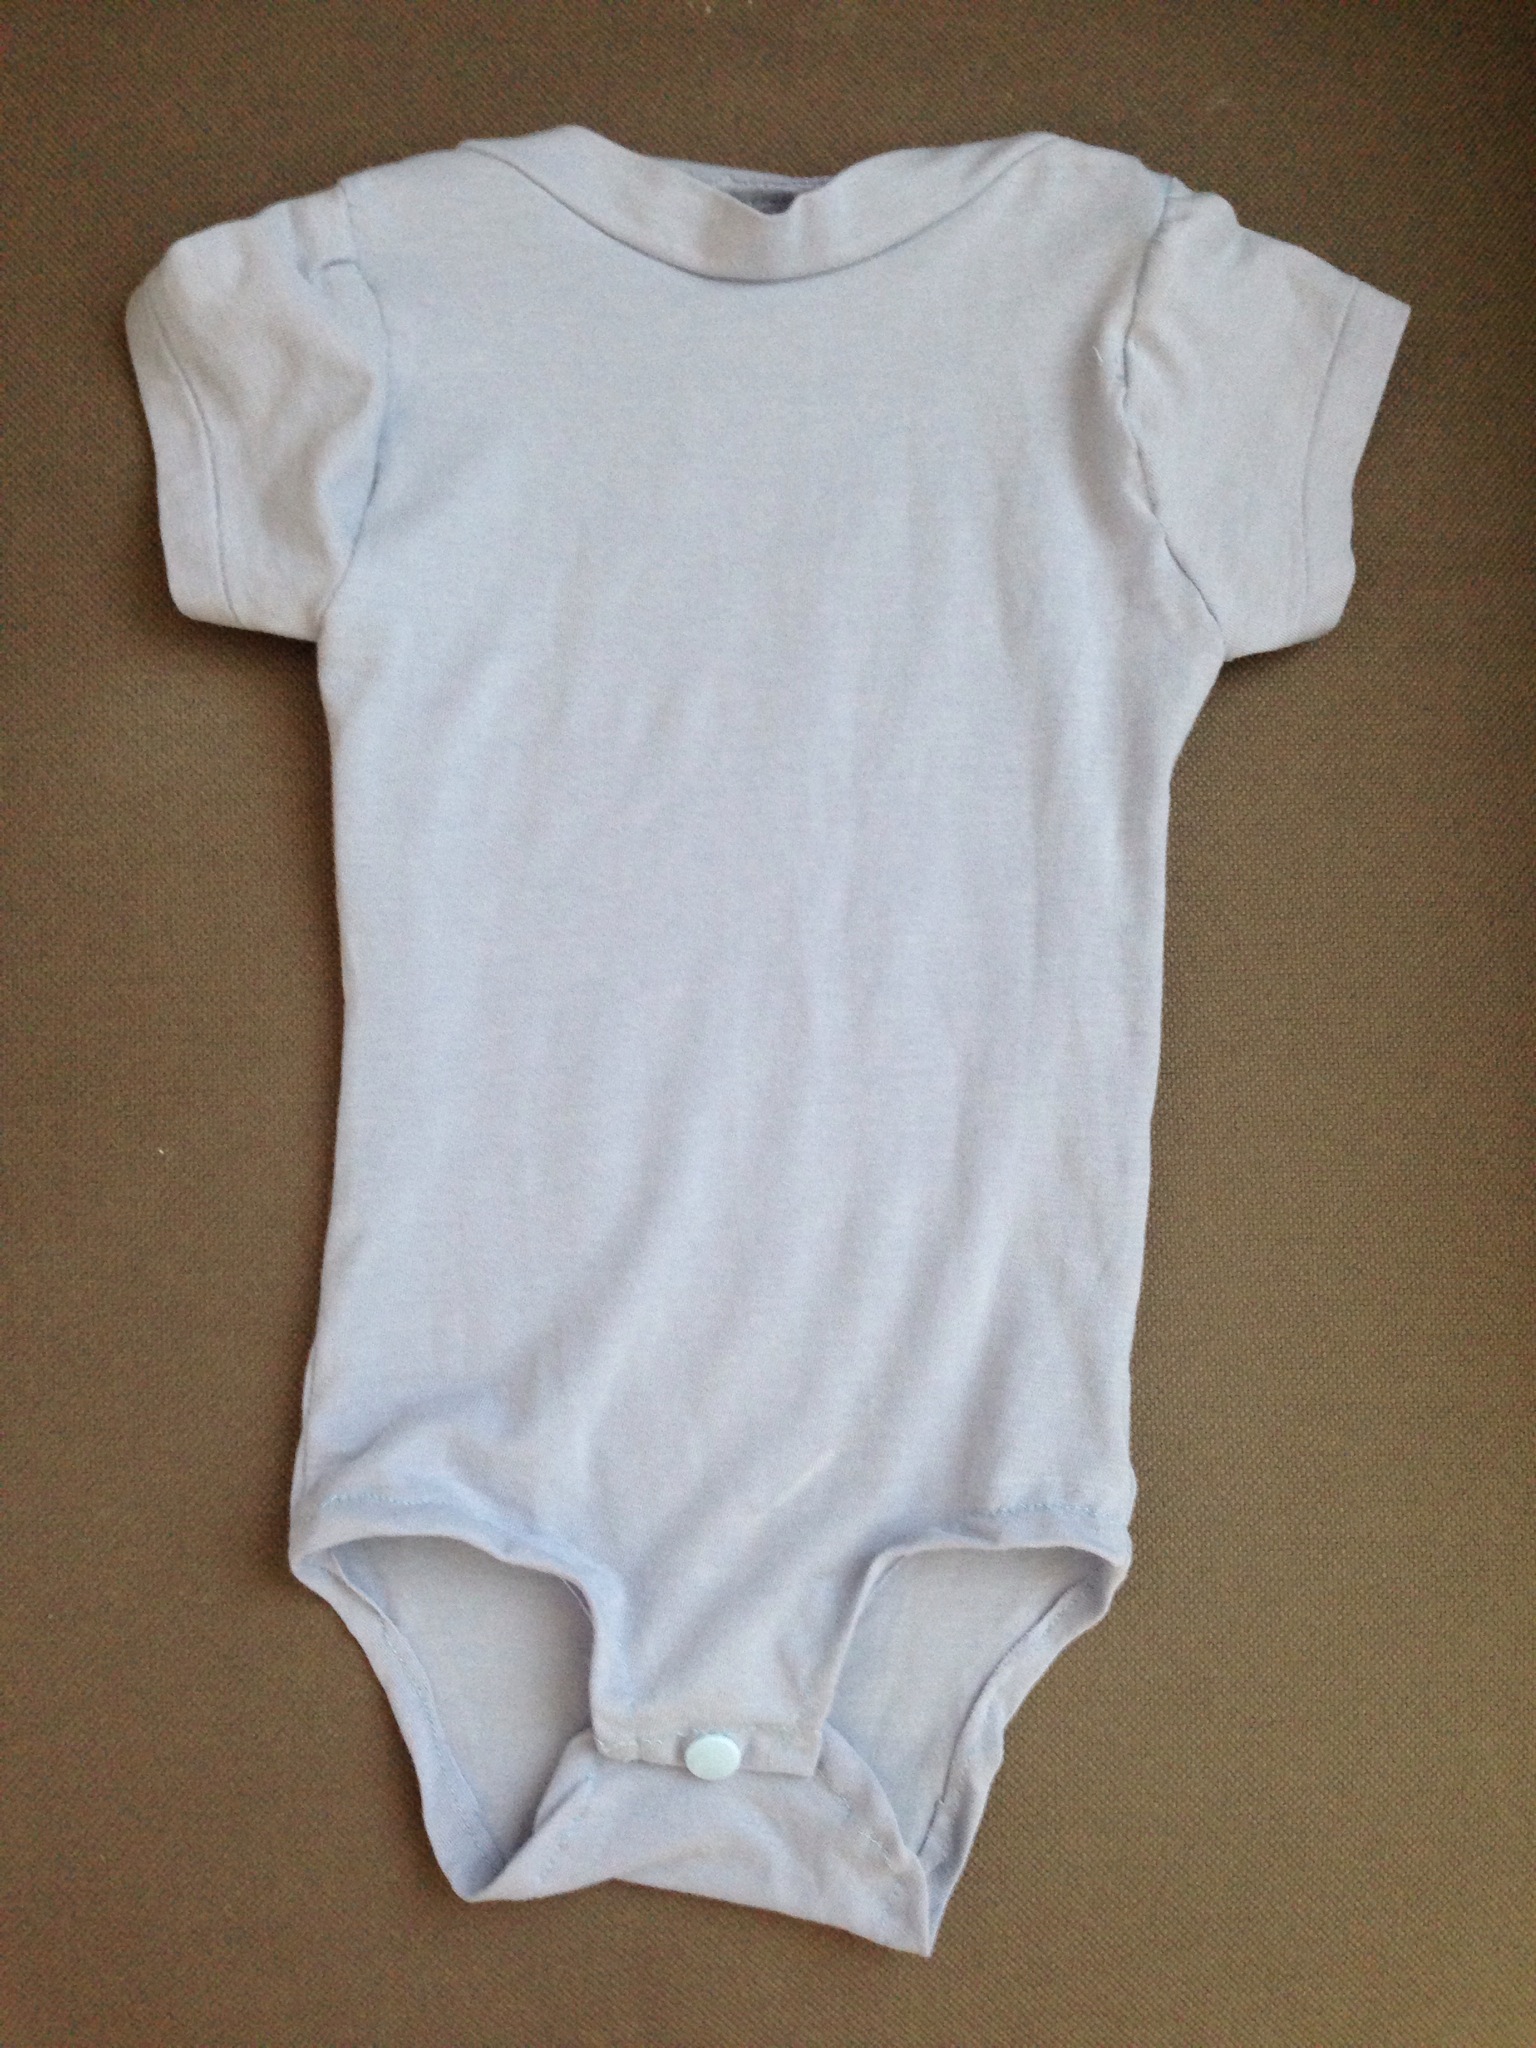
I am no good at sewing because I can only sew simple stuff and I cannot put pieces together. Instead of inspiring people with beautiful projects, yet another failed project. I have a Spock t-sheet I want to refashion into a onesie, now I am not sure I should. I really don’t have 4 more hours!
Oh well at least she doesn’t seem to mind wearing it.


All these sewing projects for the baby, bibs, diaper inserts and the like, the boy is feeling a teeny tiny bit left out. Bad mommy! So last weekend, I got my acts together and made him a reversible apron, one side from a table cloth (yay for upcycling!) and one side I bought from Joann’s since he wanted something with cars and airplanes. And the pattern and tutorial? I got from here. Here’s my boy wearing it, he looks so happy.


Today i finally put my acts together and finished the lava lamp from last spring. After the hubby put together the lava lamp (following instructions from the Handy Dad book that I got him), I took it upon me to add some details to it.
My son’s face lit up when he discovered that I finally finished his Lava Lamp. He loves it! I am a happy mommy!


